This post may contain affiliate links. I may receive a small commission at no extra cost to you that goes towards supporting Fluffy Stitches. All opinions are my own. Full Privacy & Disclosure Policies HERE.
Placing the handles – Tunisian Raffia Bag Project
Let’s get some handles on our Tunisian Raffia Bag Project! Join me in this series of posts where I share with you all the steps and challenges of making a Tunisian raffia bag!
Inspiration
I knew this was going to be a slow project, but I’ll admit I didn’t expect it to be this slow.
The fact that I chose to do it in Tunisian crochet AND in the round may have something to do with it… However, I’m doing my best to use this time to bring my vision to life. And if that includes learning about a couple of things that I may not want to repeat in the future, even better. 😉
So, in case you just got here, below is my vision for this project and you can read about how it all started right here.
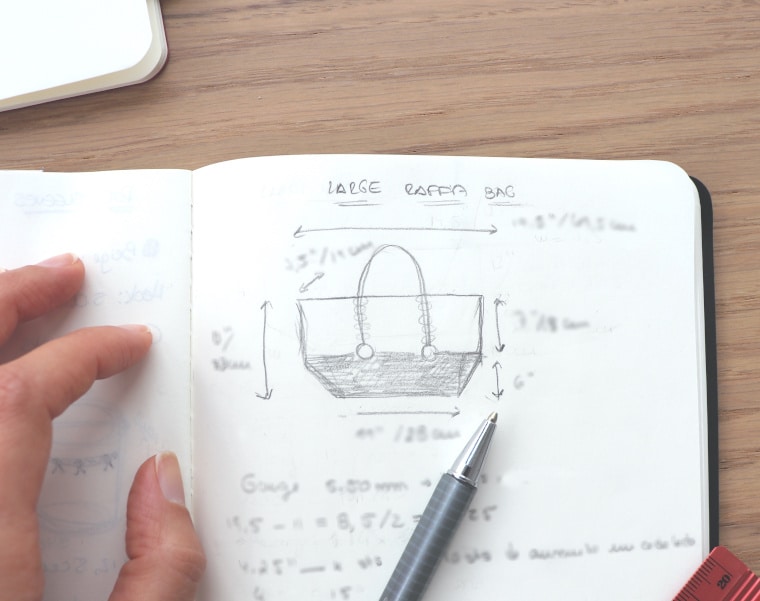
Last week I left off at the point where I started making the sides of the bag and now, I’m about to add the beautiful handles that brought on all the commotion.
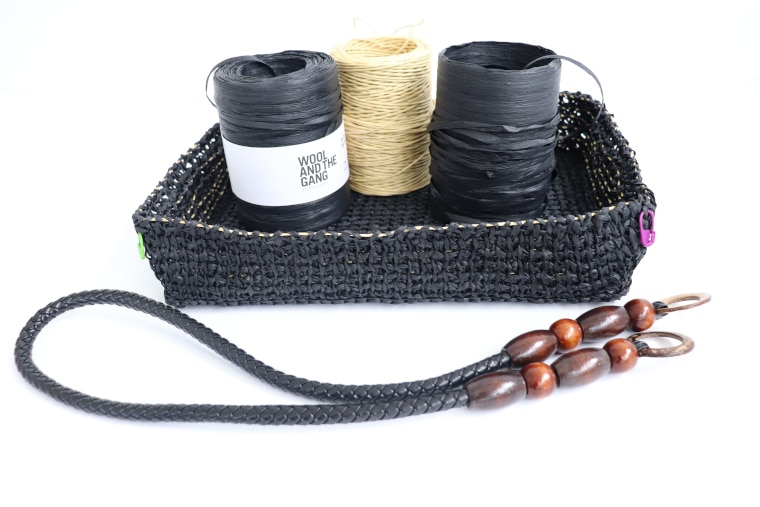
Project
So, let’s see what I need to do to handle this (pun intended)! 😉
Challenges
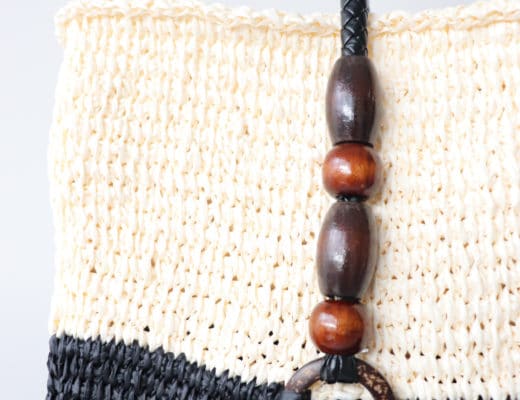
At this point, I have to deal with the shape of the handles. They are these beautiful leather handles, that end in a wooden ring. So the challenge here is to figure out how I’m going to incorporate these rings in the bag so that it looks good and it is strong enough to hold both the bag and its content’s weight.
For this part, I took a page from Debrosse’s book. And I mean literally!
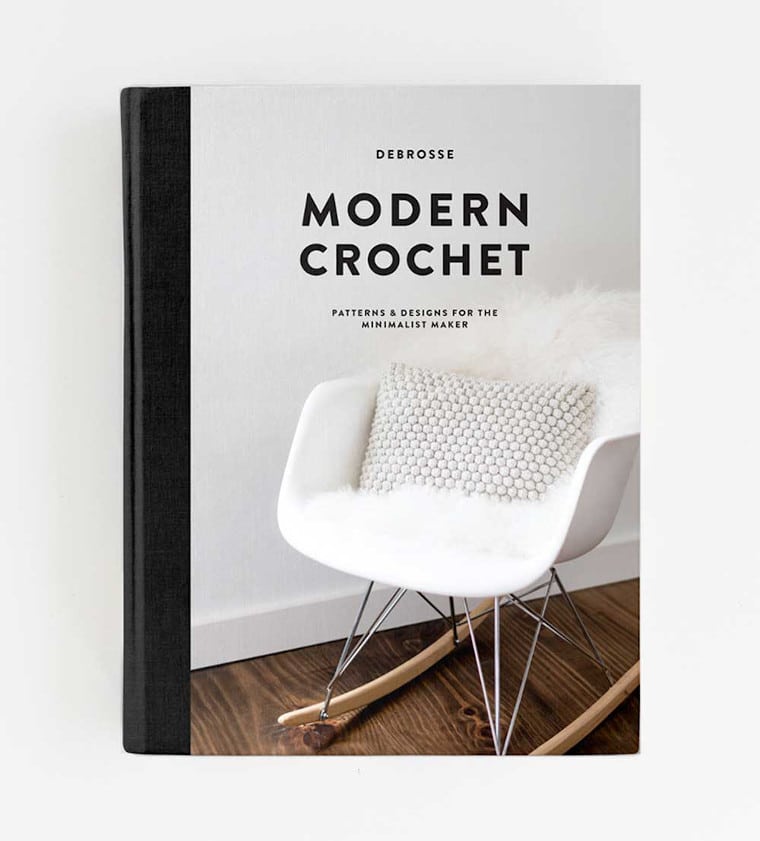
Last year, Teresa Carter launched a book called Modern Crochet: Patterns and Designs for the Minimalist Maker. I won’t get into details now, you can find them all in my review here. However, let me just say that in the book there’s a pattern for a potholder that includes a wooden ring… And with that, she gave me the solution for my bag. Even if it was just for that, I’m really happy that I bought this book. 🙂
Pattern
With my Tunisian hook on one hand and Teresa’s book on the other, I had everything I needed to add the handles.
Shaping for the handles
To start with, I had to make the space for the wooden rings, so I had to introduce a sort of half-circle in the last rounds of the black raffia section. I needed two half circles on each lengthwise side, separated by a number of stitches that would look and feel balanced. I went back to my draft, took some measures out of my shopping-bag-turned-concept-test and got the stitch numbers I needed.
Now, to get the half-circle shape, the technique is to bind off the stitches that will make up for the shape. Since we are working in the round, you’ll need to either cut the raffia between the shape or leave enough so as to hide it in the stitches that will hold the handle. I did a mix. I left the raffia on the forward pass and cut it on the return pass. In the end, I’d say it’s a matter of what you prefer NOT to do. If you don’t want to weave in ends, let it be. If it doesn’t bother you, just cut it.
Here is a video on how I shaped the last rounds to make space for the wooden rings. Please note that the video is in Portuguese!
Adding the handles
With the half-circles done, it’s time for the big moment!
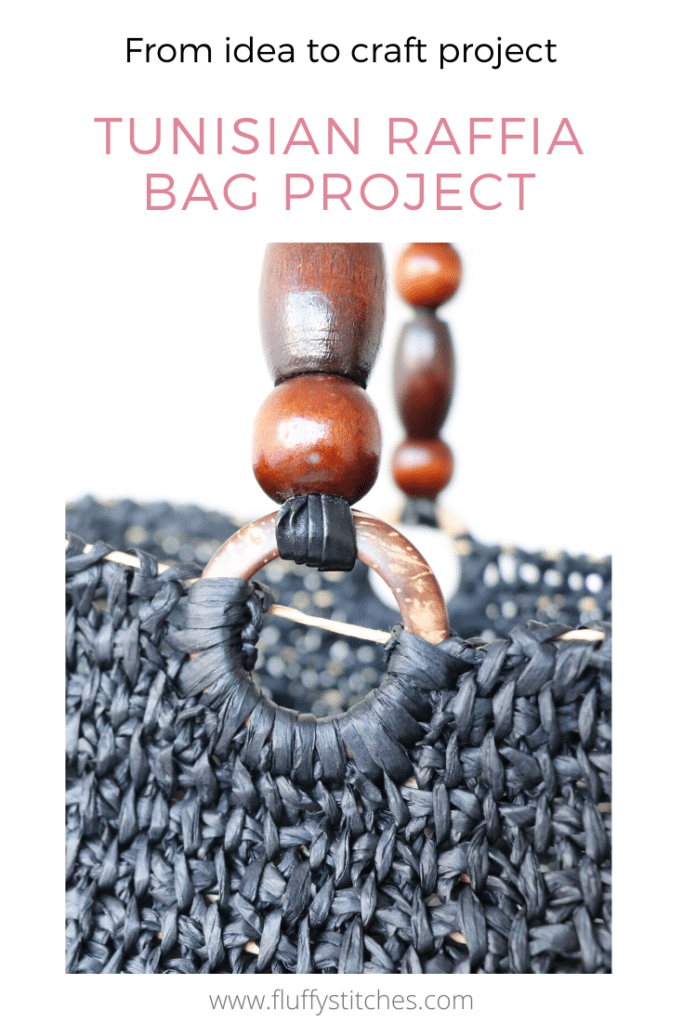
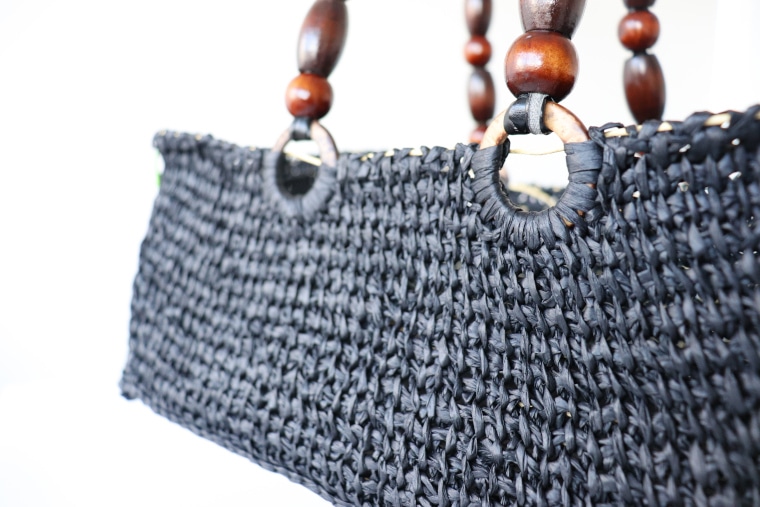
As per Teresa’s suggestion, I did normal single crochet stitches around the wooden ring. It’s not really an exact science. I started from the right upper side of each half-circle and pulled up a loop. From there I made a single crochet stitch, going through the wooden ring when picking up the raffia to close the stitch. I did this all around the ring, pulling my loops from the Tunisian simple stitches on the margin of the half-circle shape and enough times to cover most of the wood.
As a last detail, also from Teresa’s book, I rolled the top of the stitches to the inside of the bag and used the end of the raffia to keep them in place. This way it prevents them from rolling again to the outside of the bag.
Below is a video of how I placed the handles with single crochet stitches. Please note that the video is in Portuguese!
We have the handles, now all that’s left is doing the white part of the bag and we are done!! Let’s finish it!

No Comments