This post may contain affiliate links. I may receive a small commission at no extra cost to you that goes towards supporting Fluffy Stitches. All opinions are my own. Full Privacy & Disclosure Policies HERE.
Finishing off the bag – Tunisian Raffia Bag Project
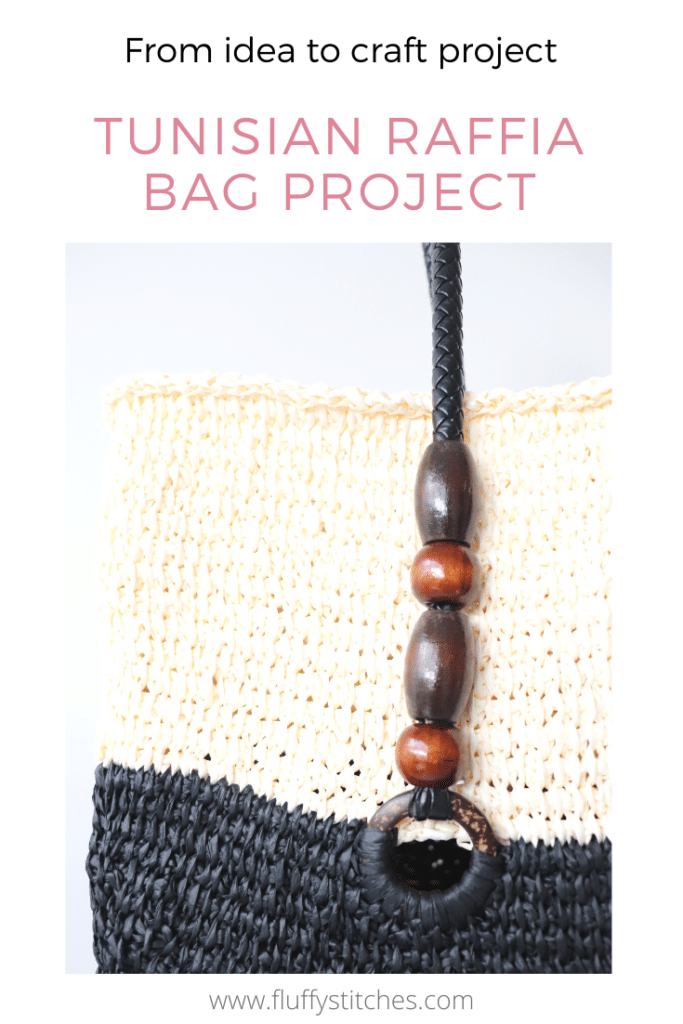
Let’s finish our Tunisian Raffia Bag Project! Join me in paving the way to the finish line of this series of posts where I share with you all the steps and challenges of making a Tunisian raffia bag!
Inspiration
We did it! 😀
We made it to the end! There were times when I doubted that this project would ever end, but here we are, at the finish line of our Tunisian Raffia Bag Project!
This all started with a vision of a Tunisian Crochet bag with leather handles and wooden beads…
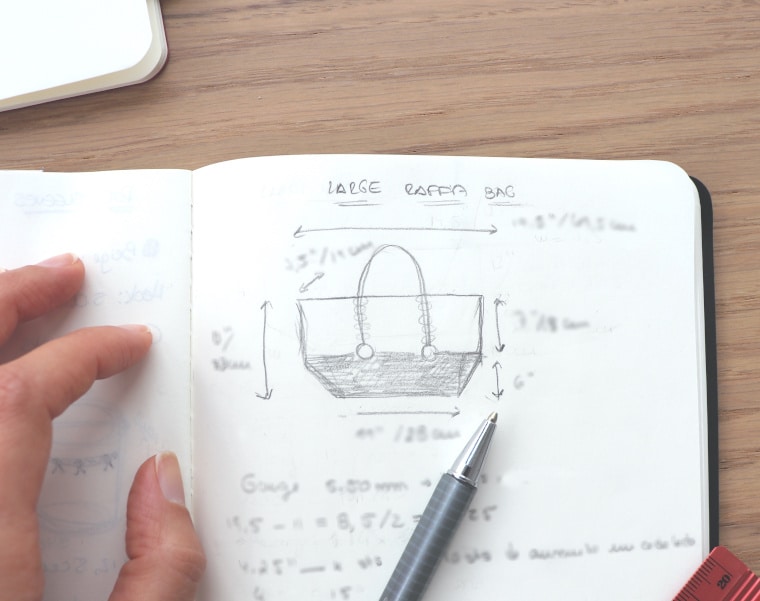
This vision started taking form once I started making the base…
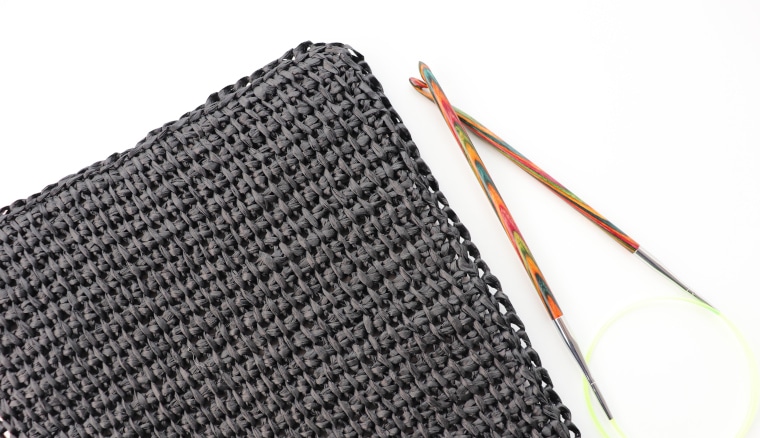
With the base all done, I went on to work on the sides of the bag…
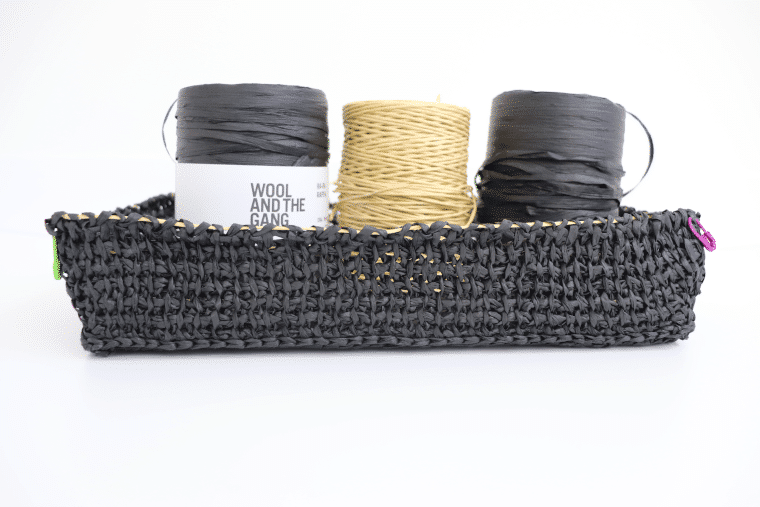
Then once I the sides had enough height, I added the handles…
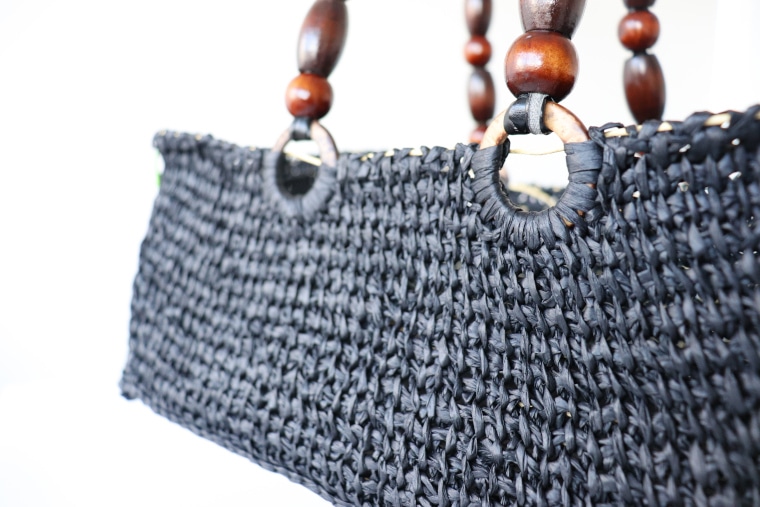
And now…
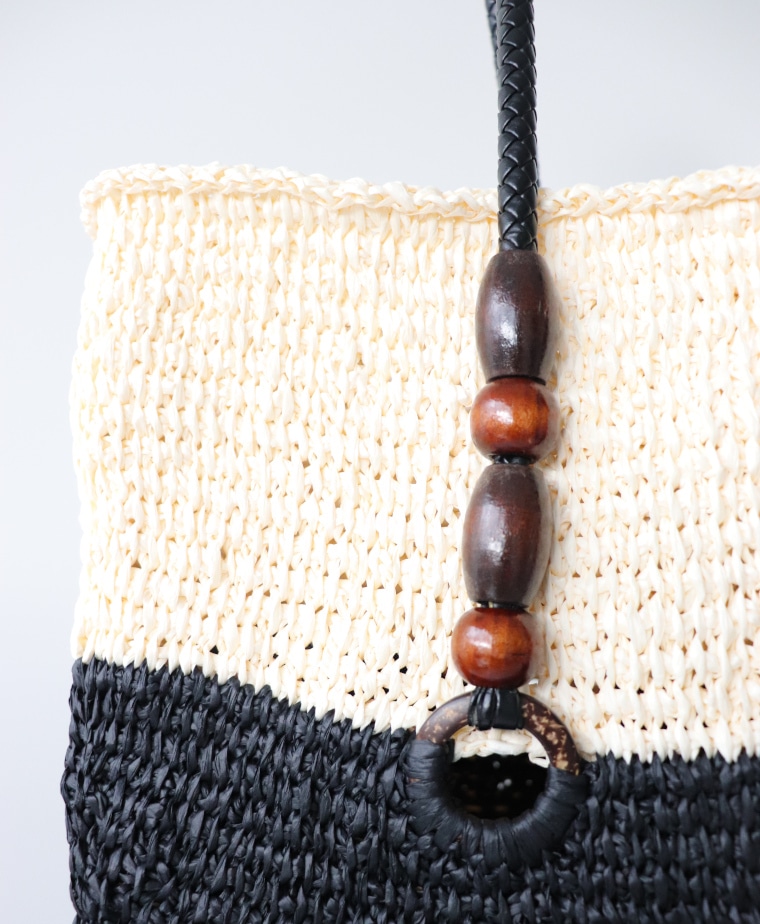
All that’s missing to make my vision a reality is the white part of the bag! 😀 YAY!!!
Project
So let’s take a look at our bag and see what is it that we need to do to finish this Tunisian Raffia Bag Project!
Challenges
Back when we were placing the handles, we shaped some half-circle holes on the sides of the bags. This has brought on a new challenge: the round is now interrupted by four gaps. We have to bridge these gaps in order to keep working the bag as we were doing before. But I have just given you the answer to how we’ll do it. 😉
Another thing we need to do is securing the handles. Because they are too big and we had to place them in the middle of the bag, we now have to secure them to the white part of the bag.
Pattern
With the enthusiasm of someone who is so close to finishing something great, I picked up my new skeins of Ra-Ra Raffia from Wool And The Gang, this time in Ivory White!
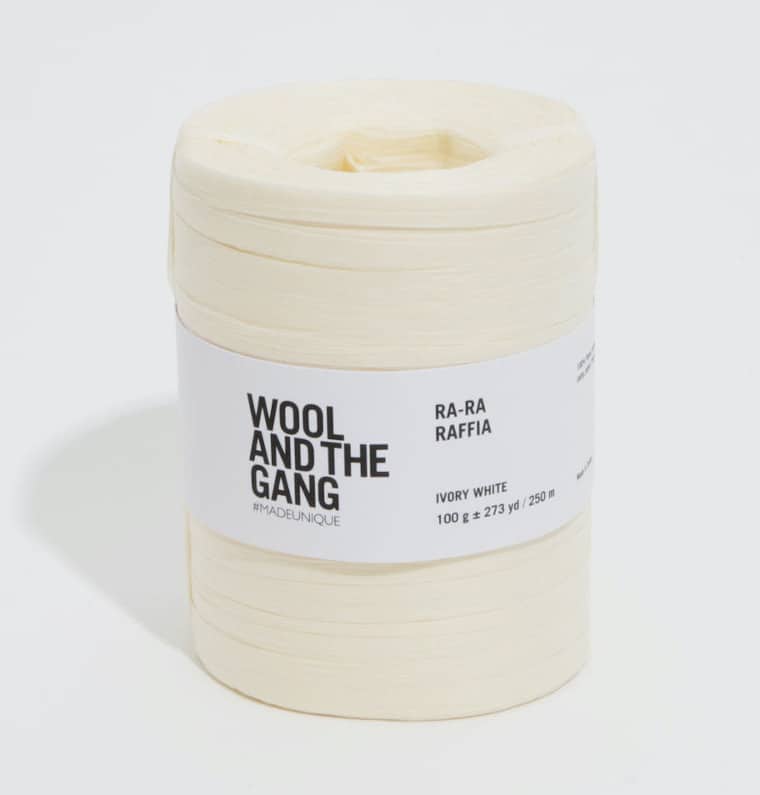
It’s supposed to be white, but honestly, I find it a bit yellowish… or maybe I’ve just had it for too long and instead of paper yarn, I now have something closer to parchment yarn…
Closing the gaps
So, let’s close these gaps! To be able to continue working in the round, we need to pave the way for the stitches. This means we need to add some chain stitches between the gaps that will serve as foundation stitches. I wondered if we could just use the wire, instead of having to make the chain, but there’s nothing to hold our stitches, so yes. We have to add these chains.
However, it’s just that, a couple of chains. We need to know how many stitches are missing in each gap and make a chain with that number. Use the wire inside of the bag to begin your chain and to end it, otherwise, the stitches will be visible on the outside and we want the change of color to be flawless.
Here is a video on how I added these chains behind the wooden rings. Please note that the video is in Portuguese!
Working in the round
With our chain bridges all done, all that’s left now is to work the remaining rounds!! 😀
In this section, you don’t even have to worry anymore about adding stitches in the corner, it is just working the stitches that here there. You’ll still have to work the wire on the return pass, but by now, that’s easy peasy. And just one more thing… Just work in a spiral. You don’t need to make all that stuff to join in the round anymore. 😉
PRO TIP: Weave in the ends of the bridges after one or two rounds! It’s a lot easier to do it now, then at the end.
Here is a video on how I worked the stitches on top of the bridges and worked in a spiral instead of joining the round. Please note that the video is in Portuguese!
Binding off
Once you reach the number of rounds that give a nice and comfortable height to the bag, just do a slip stitch bind-off!
Here is a video on how I did the slip stitch bind-off in this bag. Please note that the video is in Portuguese!
Securing the handles
To secure the handles, I used embroidery thread to make a few loops that would go around the handles between the wooden beads. Since I didn’t want the thread to be noticeable from the outside of the bag, I used black thread. It will create a noticeable seam on the inside of the bag, but I don’t mind. In this step, be mindful of two things. First, make sure that you don’t pierce the raffia! This is very important to make sure that the bag stays strong. Second, use the same space to pass the needle both from inside out and outside in to make it less visible.
Here is a video of me securing the handles along the white part of the bag. Please note that the video is in Portuguese!
Finishing the bag
With the handles secured in place, I pulled on the wire to help shape the bag. After I did it, I realized that because the binding off did not have any wire inside it, the edge of the bag was rolling out and looking very droopy. Ideally, I should have noticed this back when I was binding off, but I alas I didn’t it, so let’s correct it now.
To improve the edge, I did slip stitches all around it and worked wire inside those stitches. This has two benefits: the slip stitches make the edge thicker and stronger and the wire helps to control and shape it. If I pull the wire, it’s like making a very tight bind off, but if I ease it, it’s like I loosened that same bind off.
Once you slip stitch the edge all around, fasten off and cut all the raffia, leaving a long end. Now, adjust the wire to give the edge the shape you want and once you do, roll the wire a little bit to prevent it from going inside the bag. Cut the wire and now weave in the raffia and make sure you wrap the end of the wire in a nice little cocoon of raffia!
See in this video below how I weaved everything in! Please note that the video is in Portuguese!
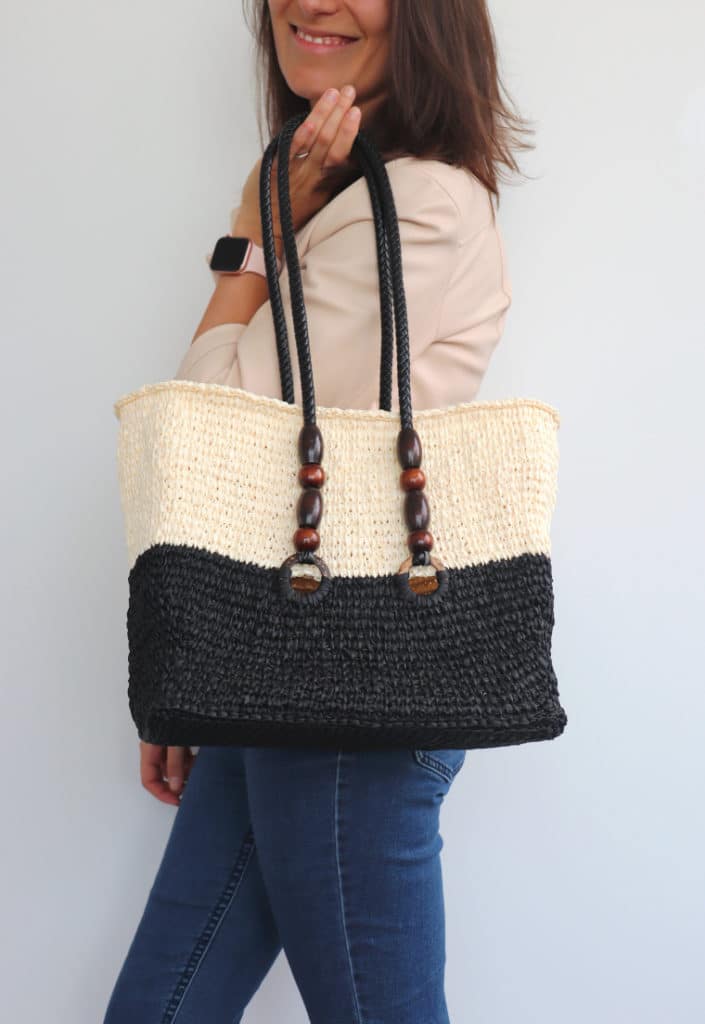
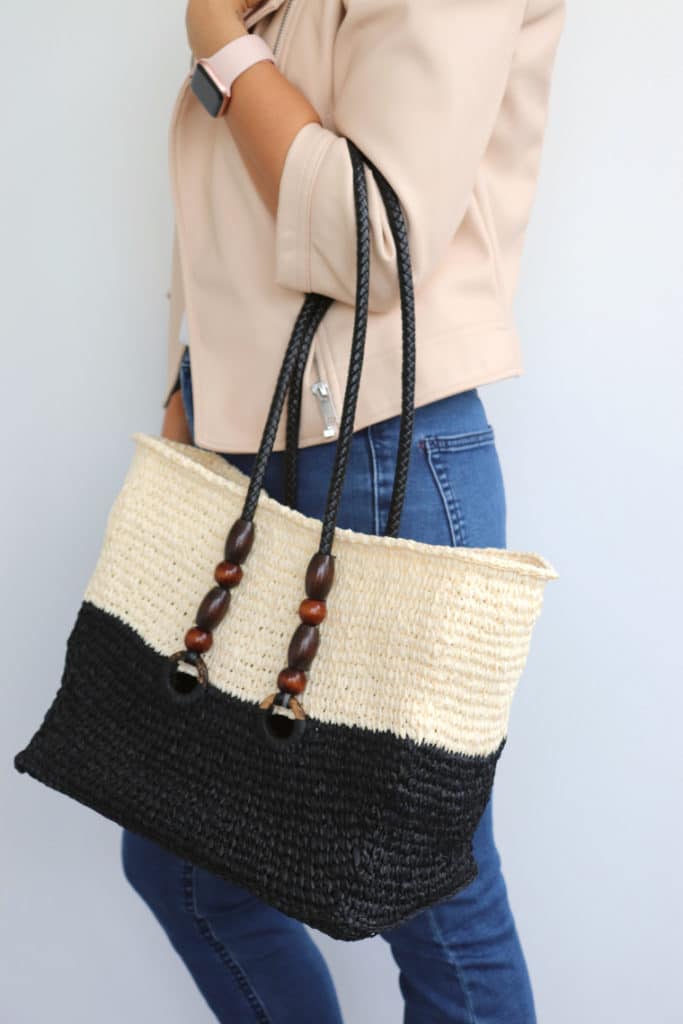
Finally, revel in awe at your fantastic work!! after all the challenges, we were able to finish the Tunisian Raffia Bag Project!
WE ARE AWESOME!! 😀
Lesson(s) Learned
Ok, so it may not have been my most time-efficient project, but… I’ve learned SO MUCH!!
Tunisian crochet in the round
For starters, I’d never done Tunisian crochet in the round, and now it’s one more skill I can brag about! Although, I don’t think I’ll be bragging much about it anytime soon. 😉
This is the main not-so-good point about this bag. The fact that I did it in Tunisian crochet in the round was not a great decision. I wanted the bag to have a fabric with no holes, just like the Tunisian Raffia Tote, that’s why I opted for Tunisian crochet. However, if I were to repeat a project like this I would consider either:
- doing Tunisian crochet panels, and think of a different way to put the wire in the bag,
- doing the bag in the round, but with single crochets. The fabric will have holes but they’re small (you can see it in the Raffia Flower Pot Sleeve). Another plus side is that working the wire inside single crochet stitches is also a lot easier.
Working the wire
As I mentioned above, working the wire inside the Tunisian Simple Stitch was a bit tricky. Working it inside single crochet stitches is far more simple. Furthermore, working the raffia around the wire on the return pass also uses up more raffia.
There are also little details in the making of the bag that make a difference, such as maintaining the wire tight with each round or row you work. In this project, because I would work with my arms over the bag I would only pull the wire after a few rounds. However, if the wire is not stretched, it won’t give structure to the raffia and the sides of the bag will be just as wobbly as if it had no wire inside. Plus, pulling the wire when it’s already all worked up inside the bag is a bit nightmarish. So be ready to work those arms and pull the wire as you go!
Measures
This was something I should have taken more time to consider. The size of the base I made is a tad big for a bag. These measures made sense in my initial draft before I realized my handles were too big. When I adjusted the size of the bag for the handles, I didn’t readjust the size of the base. If I were to do it again, I’d cut widthwise just a bit on the size of the base.
Conclusion
As I said, I learned quite a lot with the making of this bag. And don’t get me wrong. There are things that I would do differently if I were to do it again, but… I LOVE MY NEW BAG!! 😀
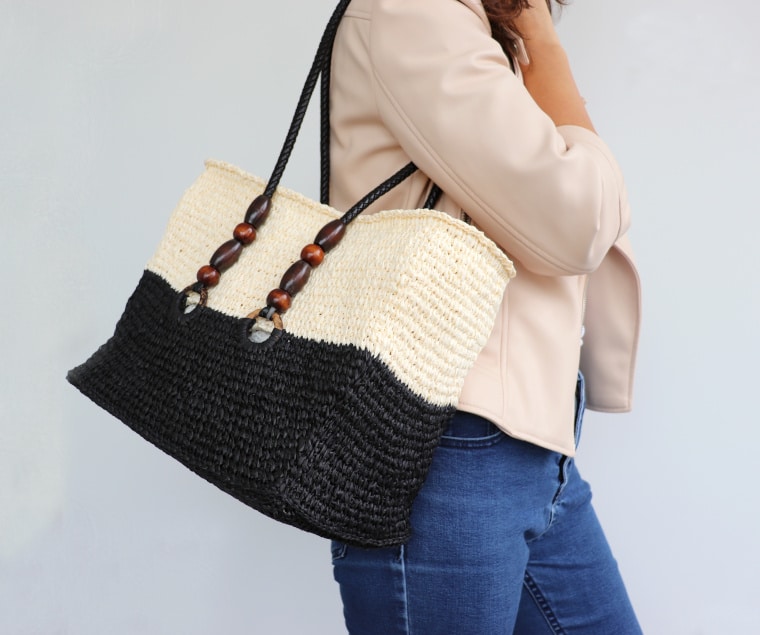
I am happy that I pursued this project because I’m so proud of the end result, and even more so that I shared all the steps and challenges with you. Hopefully, you can also take a couple of lessons from my adventures and use them in your own schemes!
And what about you?
What did you think of all this? Did you like the idea of the bag? Did you think it was ever going to end? What did you think of the final result? I’d love to hear what you think! Let me know in the comments below!
And besides, I still don’t have a final name for the project. 😉 What should I call it? I’d love to hear your ideas!
See you on the next crazy project!


No Comments