This post may contain affiliate links. I may receive a small commission at no extra cost to you that goes towards supporting Fluffy Stitches. All opinions are my own. Full Privacy & Disclosure Policies HERE.
Starting off the sides – Tunisian Raffia Bag Project
It’s time to start making the sides of our Tunisian Raffia Bag Project! Join me in this series of posts where I share with you all the steps and challenges of making a Tunisian raffia bag!
Inspiration
I’m so happy you’re here! I really needed you! 🙂
This project wasn’t gonna happen if you weren’t there reading this and waiting to see what I’d come up with. I love the idea of the bag, but its execution is quite the challenge and I’m fighting to find creative solutions to get it done just like I imagined it. I’m really going to need a simple project after this. 😉
So, let’s get ourselves organized. In my mind, this is a statement bag. It’s chic, practical and spacious. I’m using leather handles I had laying around for one too many years and I’m using raffia in black and white. You’ll find more details in this post here.
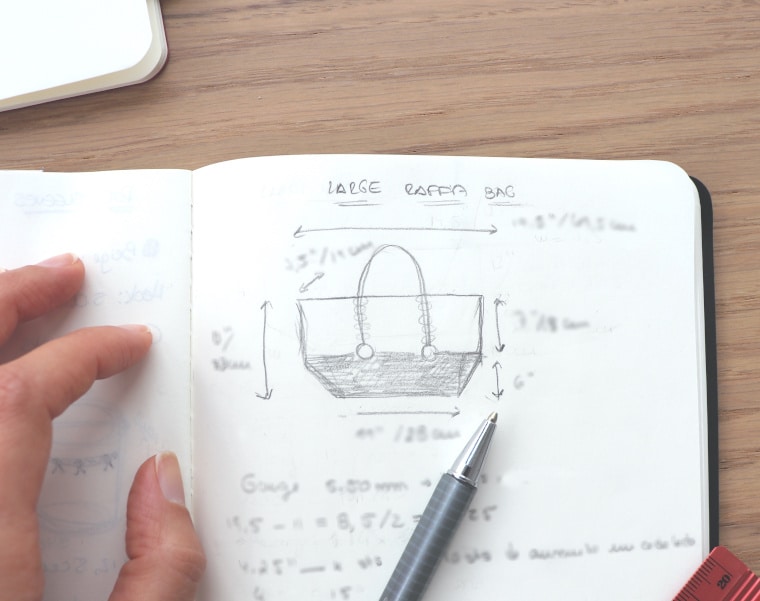
To get this project going, I started by making the base for the bag, which you can see in this post here.
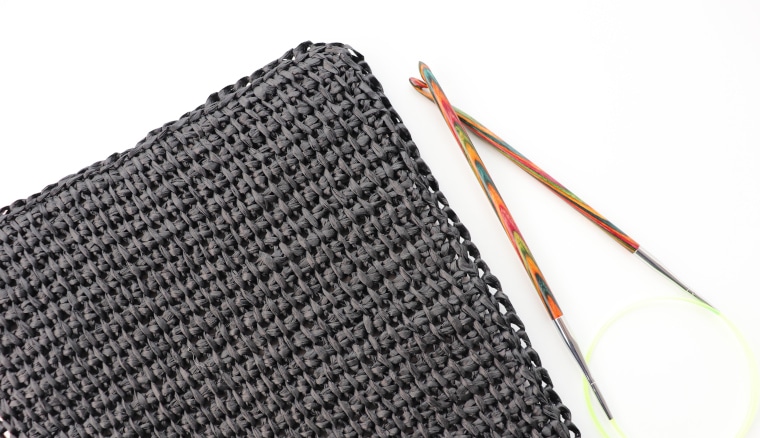
And this was a critical moment.
“Why?”, you ask. Because I’m not sure about the measures I decided on… 🙁 I did some research on a couple of bags, but I couldn’t find one that fitted my needs. Now either this means that what I’m thinking doesn’t work… or it just hasn’t been done this way. I’m really hoping for the second. Because if it’s the first… I’ll just have to start all over again. So yeah… I’m really going all-in with this. Please, cross your fingers for me!
Project
Now that I have the base, the next step is to work up the sides in this Tunisian raffia bag project. And here we find that a couple of challenges await us.
Challenges
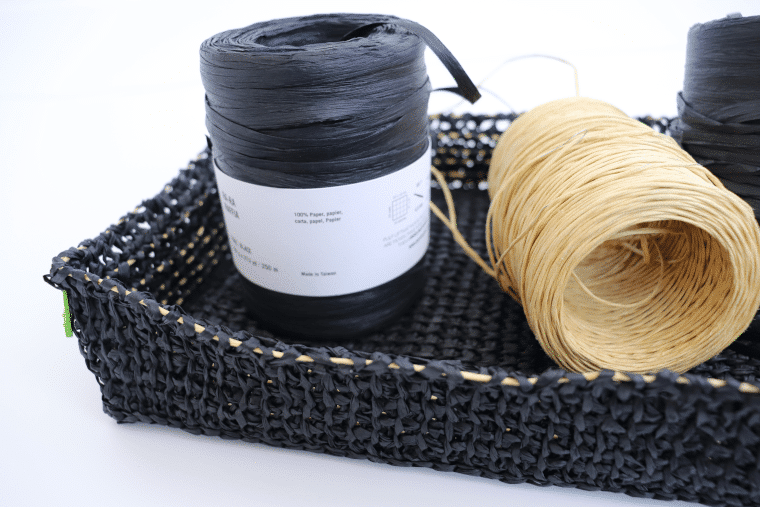
The first challenge I had already prepared for. The raffia is wobbly and I want the bag to have a bit more structure. Hence, the Raffia Plant Pot Sleeve test. This meant I had to work the wire into the stitches of the side of the bag.
The second challenge I already knew about but hadn’t quite figured out yet. How to work the raffia in Tunisian Simple Stitches. After a couple of tries, I finally figured out that I had to work it in the return pass, otherwise it would be visible on the outside. And we don’t want the wire to show on a chic bag.
As for the third challenge, I was aware of it but decided to ignore it until the time came. However, the time to face it was now. To make the sides I had to learn how to make Tunisian crochet in the round!
(YAY, new skill! YAY, no idea if it’s going to work!! 😀 )
Pattern
With the black raffia in one hand and a Tunisian crochet hook on the other, I put myself to work!
There’s one thing about the shaping of the bag that I have to mention asides from everything I’m about to detail in a few moments. We can’t forget to add two stitches in each corner to make the bag grow. The corners of the bag are marked with stitch markers to know where to add the stitches. This means, that with each round the marker has to go up the round too. The center stitch is the one on the width side. We’re making the bag grow only lengthwise, so with each round, you’ll add 2 stitches to its length, one per corner.
Tunisian crochet in the round
I started picking up a couple of stitches from the side seam that resulted from slip stitching the two base panels together. These stitches counted as the forward pass. But right here, I needed to start working in the round.
It’s funny how most of the videos I found, referred to working in the round with two colors. This was not my case, but I used the same idea. Therefore, I got a second skein of black raffia, turned my work and started working the return pass. And so I worked my stitches in the round right up until the last two or three stitches of the first row.
Here is a tutorial on how to make the Tunisian Simple Stitch in the round. Please note that the video is in Portuguese!
Joining in the round
Something else about working Tunisian Crochet in the round.
In the videos about working Tunisian crochet in the round, I noticed they only showed how to work in a spiral. It’s one option, but I don’t want to work in a spiral. Because that will show when I change from black to white… I know that I’m being really picky, but I’m experimenting, so why not try to do it exactly how I imagined it?
After a couple (hundred) tries I finally found something I liked. So, my trick goes like this… I pick up stitches all around, meaning that I stop the stitch before my first. Nothing new here. Then, instead of picking up a new stitch from my first, I just place the first stitch back on the needle. I turn my work and do the return pass until I close all stitches. This means that you’re only left with one loop on the hook. If you turn your work again, you’ll see that the loop on your hook is actually the first stitch of your next round!
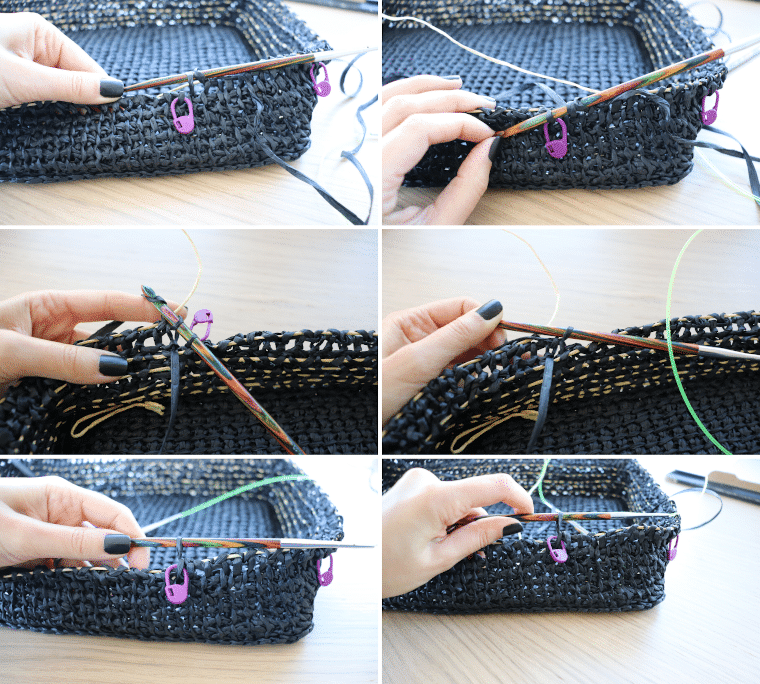
TA-DAH! Now, it’s just normal Tunisian in the round! And I made the round just as I wanted, so clean and defined rounds for my bag!
Here is a video tutorial on how to join in the round for the Tunisian Raffia Bag Project. Please note that the video is in Portuguese!
Working the wire
Time to wire up my stitches!
Now this one takes a bit of getting used to. The gist of it is really to work the return pass around the wire. The way I’m doing it is getting the wire between the hook and the raffia when I close the stitches. There really isn’t much more to it.
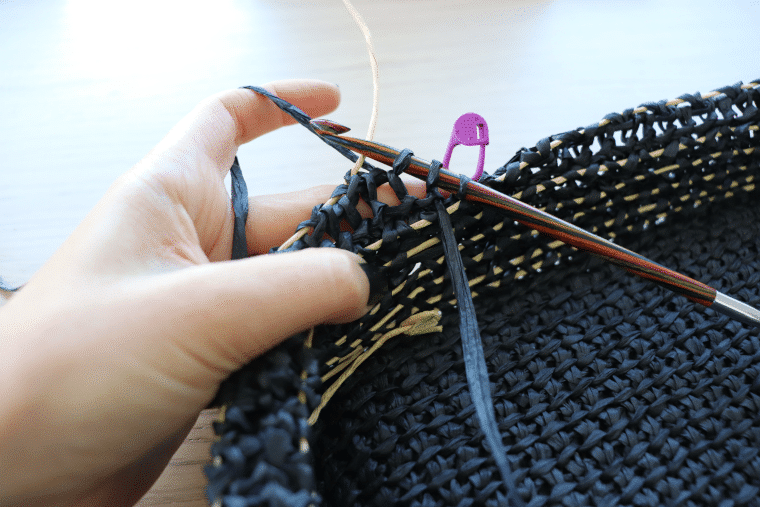
I’ve tried other ways, but this was the one I liked best. It doesn’t show on the right side of the bag, which is the main goal. As for the inside, you can still see the wire there, but that doesn’t bother me. Ideally, I’d use a wire with a cover that didn’t show at all, but this was the only wire I could find, so that’s what I’m using.
Do keep in mind that it’s OK if you can see the wire on the last round you just worked. The wire only disappears once you work the next round.
Here is a tutorial on how to work the wire into the bag. Please note that the video is in Portuguese!
As you can see from the video, this is a bit of a slow process, so I’ll leave it here for this week.
Next, we got some handles to add. See you there!

No Comments