This post may contain affiliate links. I may receive a small commission at no extra cost to you that goes towards supporting Fluffy Stitches. All opinions are my own. Full Privacy & Disclosure Policies HERE.
Learn how to get a perfect crochet circle every time with this simple but effective tip! Forget about all those weird shapes, you’ll be getting a perfect circle every time! 😉
This doesn’t look right…
See if this sounds familiar.
You have your hook and your pattern and you’re ready to start working! You have to make a circle and the pattern tells you to make repeats with increases in every round.
In the first few rounds, everything seems fine. But when you reach Round 5 or 6, you start to notice that you’re not really getting a circle. You make another round to see if it gets better, but it’s just looking more and more like a hexagon! You stop, count your stitches and everything is correct, so you think…
“What happened here?? I did everything right! Where’s my circle??”
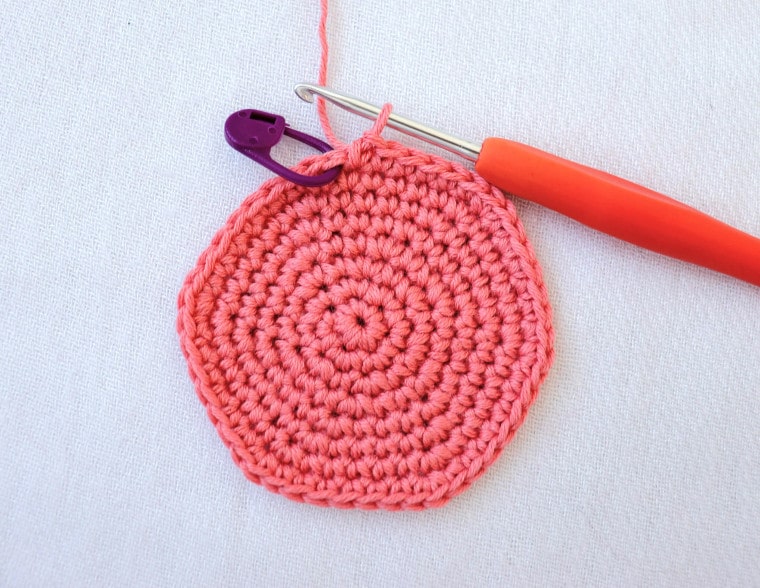
The problem
The perfect crochet circle is evading you for a very simple reason. The repeat pattern places your increase stitches on top of other increases, which actually makes the increases more noticeable. With each round, the increases get edgier and you end up with a hexagon instead of a smooth circular shape.
See below, in grey the stitch where each round starts. The yellow lines are the increases, always at the start of the repeat. This way the increases are always on top of increases thus creating edges.
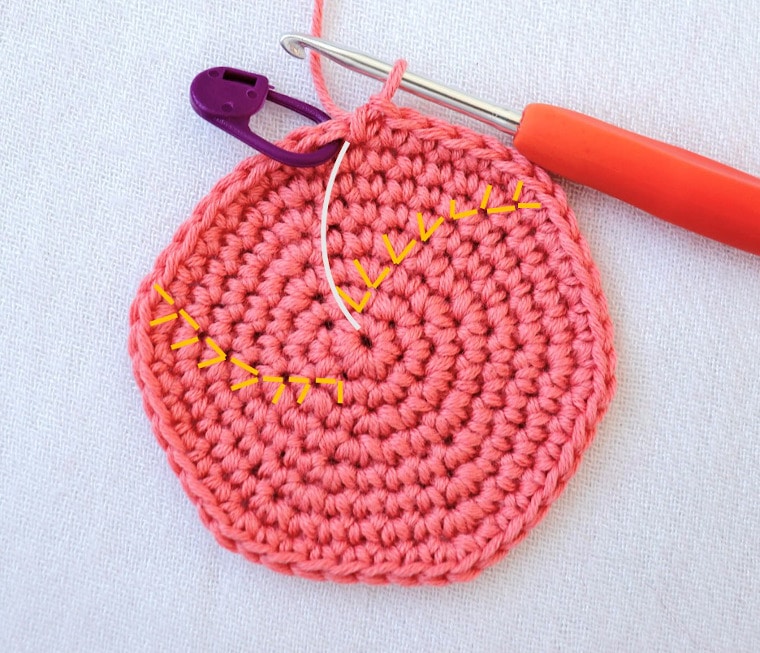
How do you avoid this? Let’s get to it! 🙂
How to make a Perfect Crochet Circle
The solution to making your increases smoother and getting a perfect circle in every round is:
Make the increases in different places of the repeat.
Ta-dah! 😀 Just look at the difference it makes!
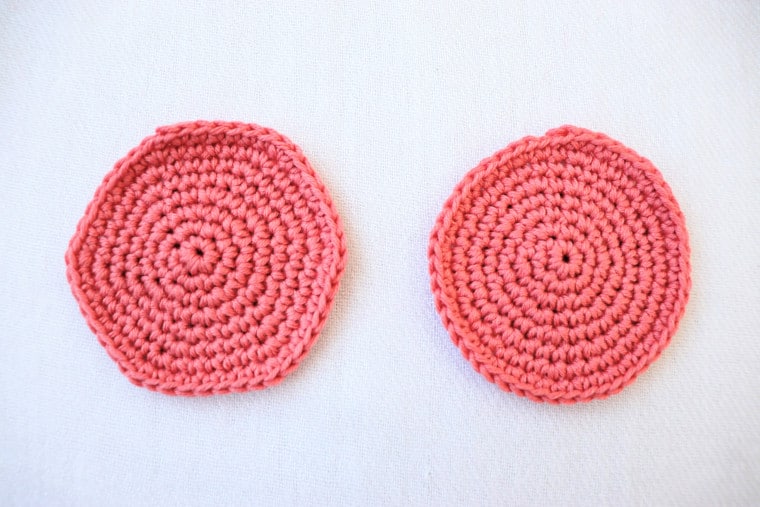
Here’s an example
You need to make a circular shape and you start with 6 stitches. This means you will have a 6 times repeat pattern, with one increase in each repeat. Your increases are separated by one stitch, then 2 stitches, then 3, and so on.
Consider this pattern (in US terms) where “inc” is increase, “sc” stands for single crochet and “st” for stitch:
Round 1: 6 sc in magic ring <6>
Round 2: Inc in each st around <12>
Round 3: [Inc, sc] 6 times <18>
Round 4: [Inc, sc, sc] 6 times <24>
Round 5: [Inc, sc, sc, sc] 6 times <30>
Round 6: [Inc, sc, sc, sc, sc] 6 times <36>
Following this pattern, the increases are always in the same place in each round, because in each round, the repeat always starts with the increase. After the 4th round, you’ll see the edges starting to appear and getting more and more noticeable after each round.
Applying our trick to get the perfect crochet circle
Usually, I only start using this trick from the 4th round on.
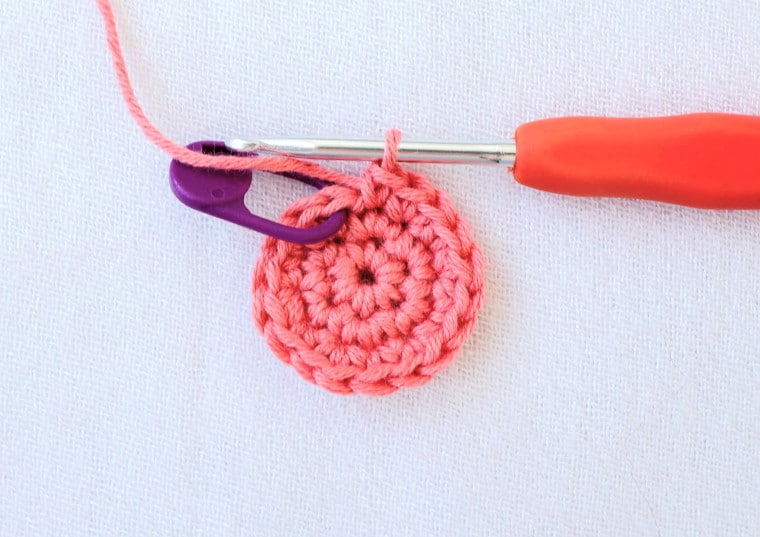
So, in Round 4, instead of making the increase at the beginning of the repeat, I make the single crochet stitches and then the increase! And in Round 5, I’ll make the increase in the middle of the repeat. And, again in Round 6, I’ll make it somewhere else. So the pattern for this would be something like:
Round 1: 6 sc in magic ring <6>
Round 2: Inc in each st around <12>
Round 3: [Inc, sc] 6 times <18>
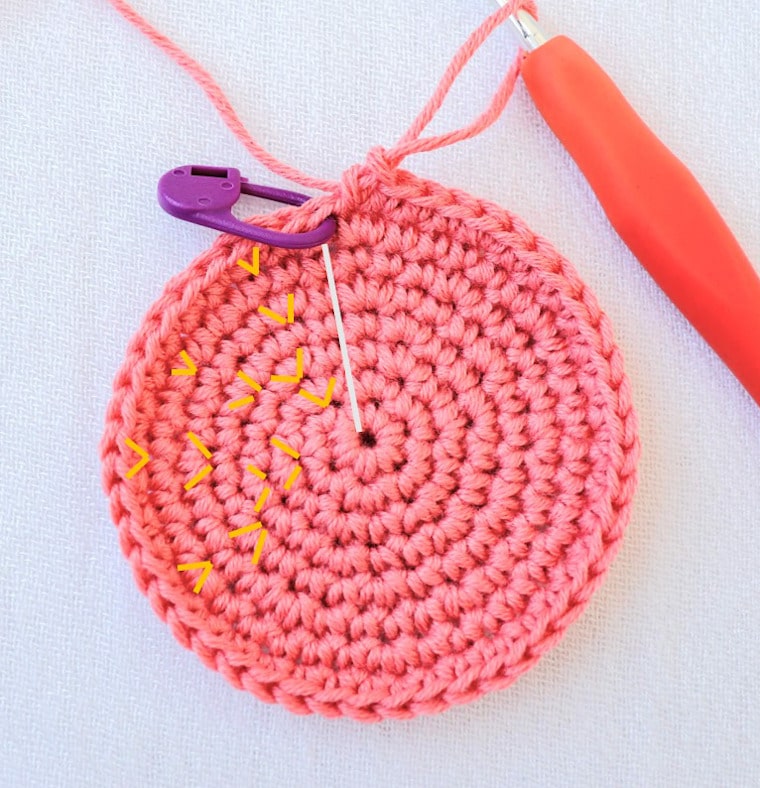
Round 4: [Sc, sc, inc] 6 times <24>
Round 5: [Sc, inc, sc, sc] 6 times <30>
Round 6: [Sc, sc, sc, inc, sc] 6 times <36>
In grey the stitch where each round starts. The yellow lines are the increases, which are placed differently in the repeat in each round.
There you have it!
Yep, this little trick is a life saver! You’ll find it especially useful when making coasters, rugs, mandalas or any other circular pattern. You can see it in action in patterns such as the You Are Here Sign or even in the Silver Lining Capelet.
And not just that, but this little tip will take your amigurumi to the next level! For example, in the Octopus for a Preemie pattern.
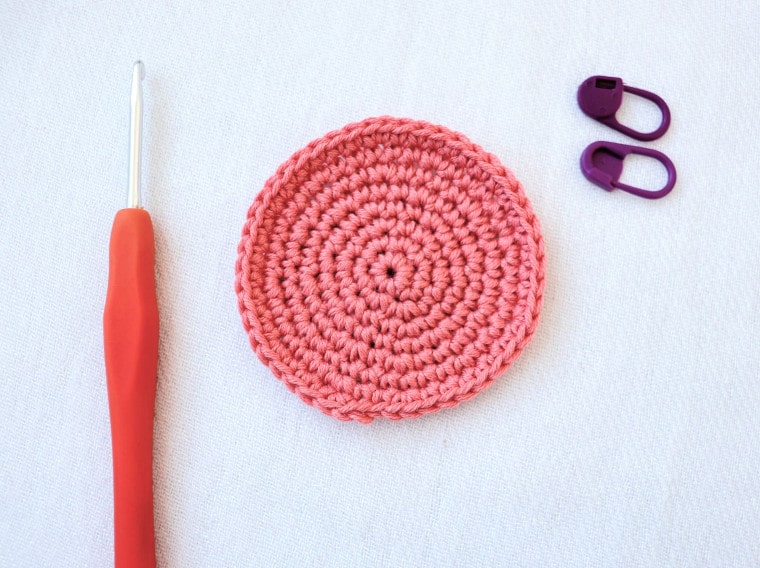
So next time you need to make a big circle, don’t forget to mix up your increases in your repeats and you’ll get perfect crochet circles every time!
Let me know how this trick worked for you in the comments below! 🙂

2 Comments
Brilliant! I’ve been crocheting for 50 years, FIFTY years! And yet when I see a circle in a pattern I cringe. I like to follow patterns but more times than not I make it up as I go alone. Not with the illusive circle! I’ve never been able to make them without the pattern in front of me and even then I’m doing more counting than crocheting because I know if I miss or add a single stitch in the wrong spot my circle soon becomes an egg or an oval or your hexagon without fail. No more! Thanks so much! And to think you haven’t even been alive for fifty years. 😊
Hi Lorrali,
Thank you so much for your comment! I’m so happy to hear that you found this post useful.
I’m already picturing you, whenever you see a circle in a pattern, going “I GOT THIS!” 😉
Enjoy your new skill!