This post may contain affiliate links. I may receive a small commission at no extra cost to you that goes towards supporting Fluffy Stitches. All opinions are my own. Full Privacy & Disclosure Policies HERE.
Knit Barcelona Shrug
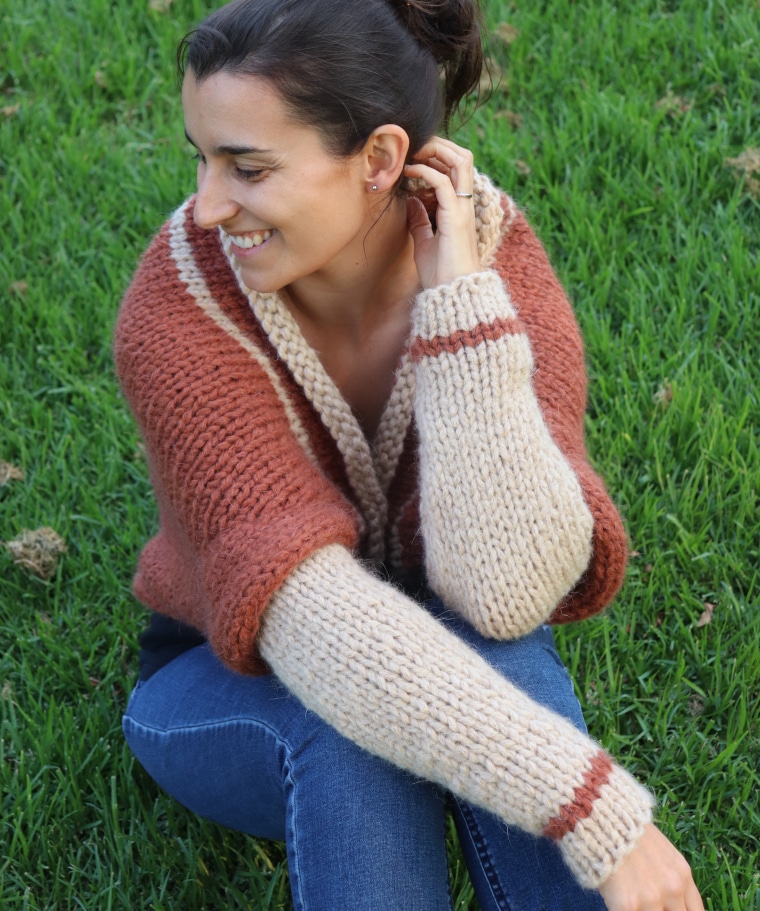
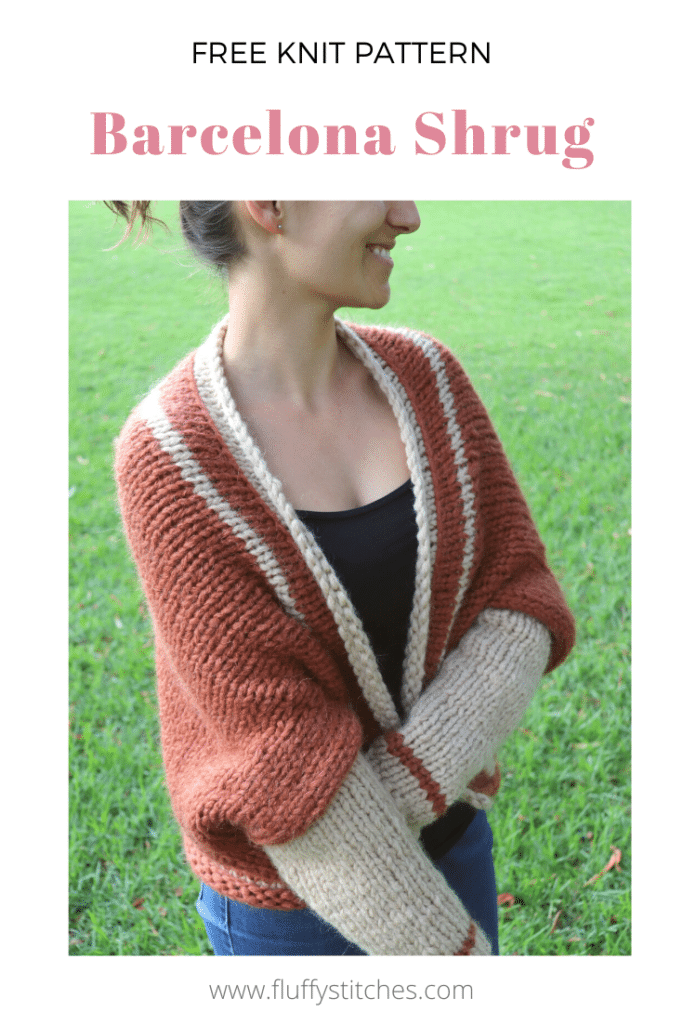
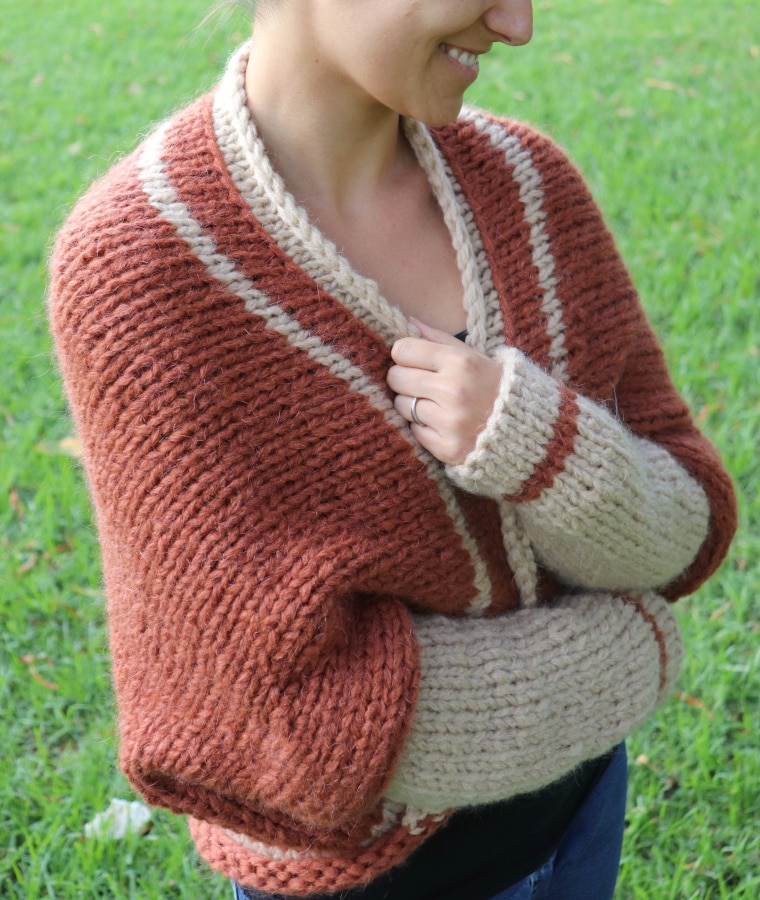
Go back to wherever makes you feel at home with the Knit Barcelona Shrug. This oversized cocoon will wrap you in warmth and comfort. Don’t miss on this quick and easy project designed with the beginner knitter in mind!
Inspiration
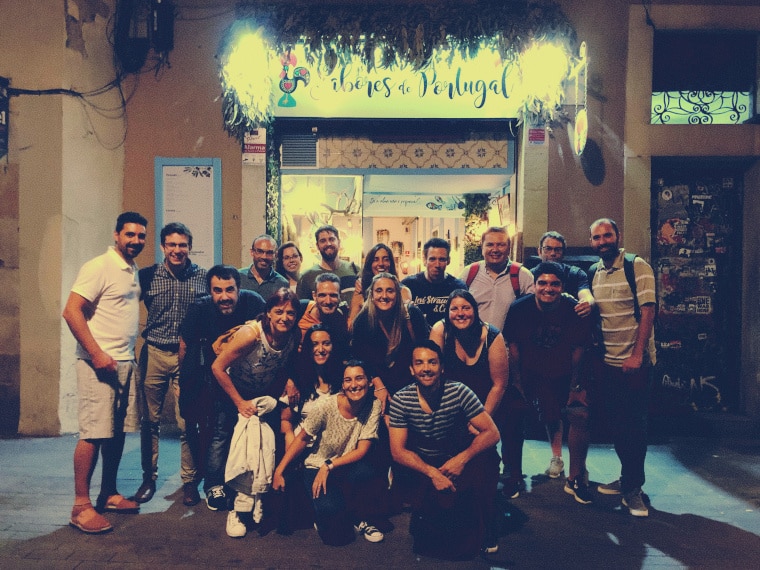
I don’t know if you know, but some years ago I was living in Barcelona. And I loved living there. In my opinion, it is a great city to live in and I made great friends. Where I worked, I had a really close-knit group (pun intended 😉 ). One day – before I left to pursue other crazy adventures – I noticed a cocoon one of my work friends was wearing. It was colorful and comfy… and it definitely caught my attention. I mentally noted that I should try and make a shrug someday.
Fast forward to now and to a recent contest from Katia, a yarn company that was looking for beginner level designs to publish in their magazine. You can read more about it here.

I decided to participate in the garment category. As I was thinking of what I wanted to present, I remembered the cold winter in Barcelona when I took up crafting again. And I thought about my friends and how they made me feel at home there. And just like that, the idea for the coziest shrug ever became clear in my mind.
Project
The goal of this project was to be a beginner-friendly design. Therefore, a shrug would work perfectly because you just need to make a rectangle and sew it, so the construction is fairly simple.
Furthermore, I decided to add sleeves, even though it adds a bit to the complexity of the project. I want this shrug to wrap the wearer, as if it were a big hug, so the arms have to be covered. In addition to that, I also tried something different in the sleeves (have to thank the husband, it was a suggestion of his 🙂 ). I wanted the sleeves to look like almost a different piece that comes out of the shrug. So, instead of working them from the arm openings, they are done as separate pieces and sewn inside.
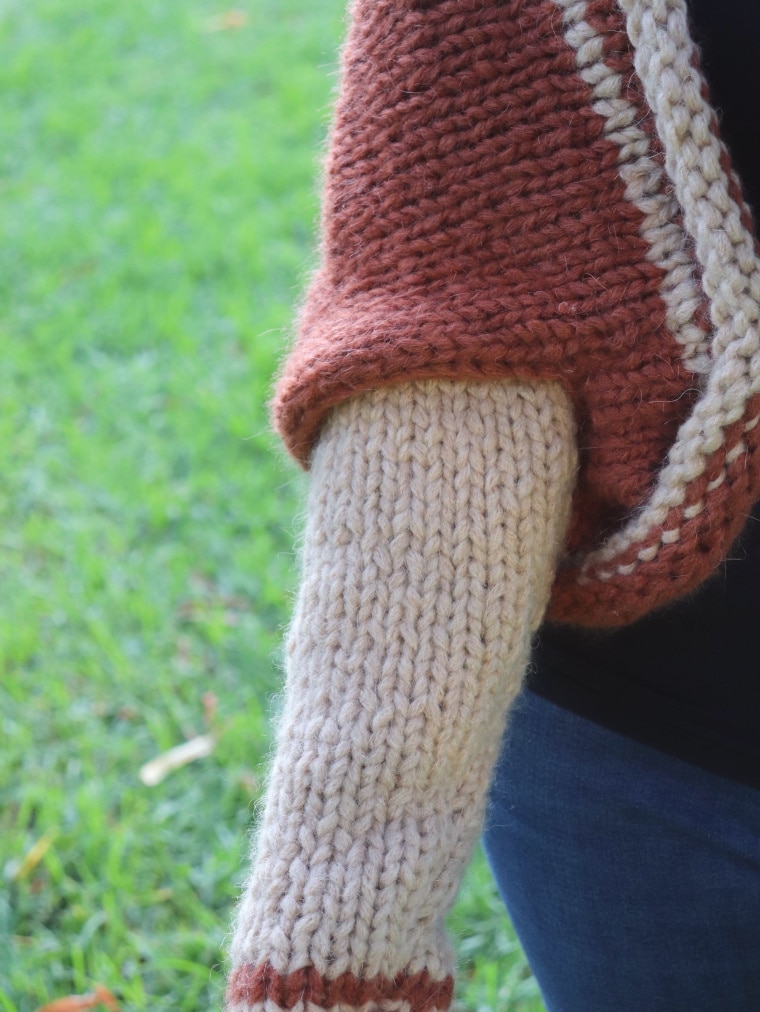
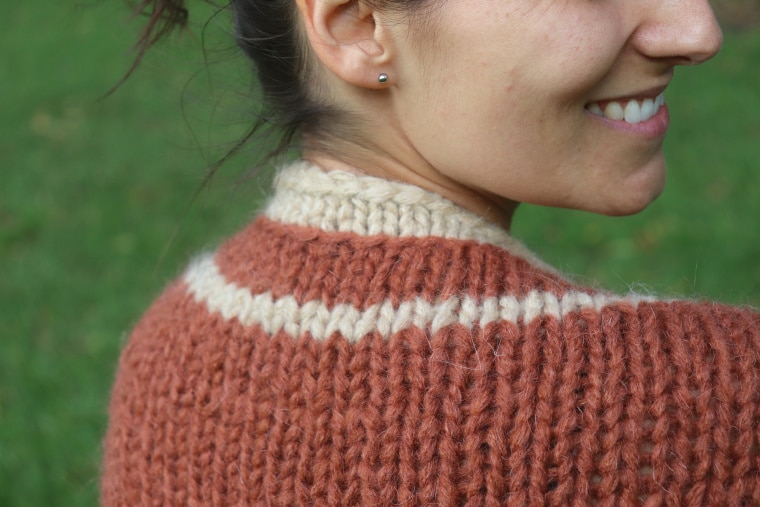
As for the colors, I knew two tones would be a great option. One tone for the body, another for the sleeves. Nevertheless, to make it more fun, I went for one stripe in the contrasting color on both parts!
Yarn
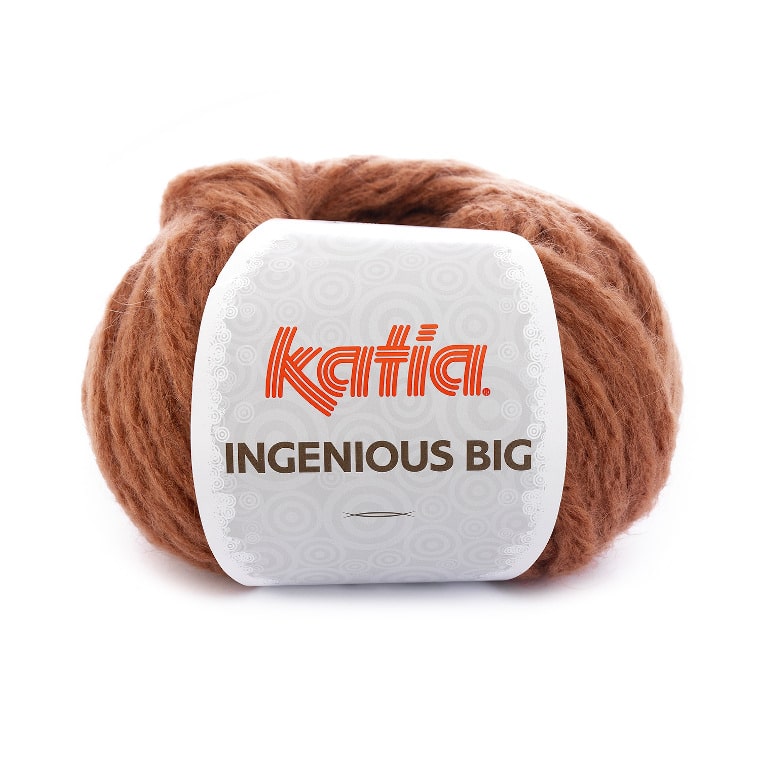
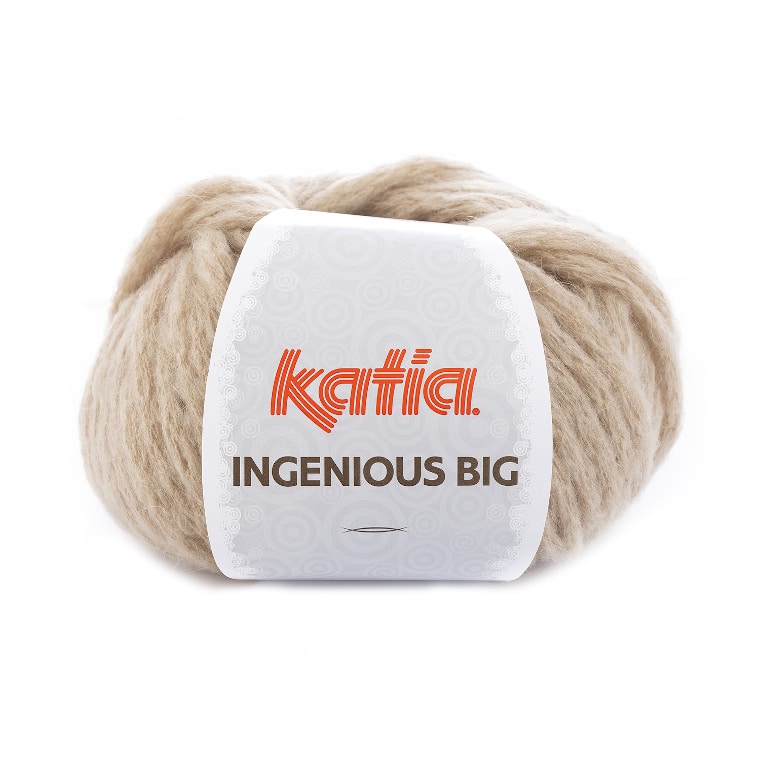
To ensure that a beginner could do this shrug quickly, I went for a bulky yarn. While looking at Katia’s Autumn/Winter catalog, the Ingenious Big was the one that really caught my eye. It’s made of 40% Acrylic, 30% Mohair and 30% Polyamide.
Even though it is a winter piece, I went for warm earthy tones. This results in the shrug feeling even more inviting on a cold day! And these two colors together – Rust and Beige – was just the pair I was looking for.
Before I started working with it, I did doubt a little that this yarn would be nice to wear. However, after a couple of rows, the feel of the stockinette fabric is quite smooth. And another thing I noticed quickly… the fabric is dense and it will definitely keep you warm. In short, it was just what I needed to knit one warm and fuzzy Barcelona shrug!
Lesson Learned
I did not win the contest, nor did I get to the final stage, but that’s OK. I finally got the push I needed to make my first shrug! 😀
But more important than that, I made something inspired by dear friends and whenever I put it on, I feel the comfort and warmth of the great friendships I made in Barcelona.
Thank you! I miss you all!
Pattern
- You can buy the ad-free, printable PDF pattern HERE!
- PIN this pattern for later HERE!
- Add this pattern to your Ravelry queue HERE!
Description
Go back to wherever makes you feel at home with the Knit Barcelona Shrug. This oversized shrug with warm earth tones will make you feel cozy and comfortable, whether you’re out and about or just relaxing on your couch.
Skill Level
- Easy
Have in Hand
- 4 skein Ingenious Big (65 yds/60 m) in Rust as Main Color or approx. 220 yd /200 m of another bulky weight, cat. 5 yarn
- 2 skeins Ingenious Big (65 yds/60 m) in Beige as Contrasting Color or approx. 110 yd /100 m of another bulky weight, cat. 5 yarn
- US Size 15 (10.0 mm) circular knitting needles with 40’’/100 cm cord
- Crochet hook, preferably from US Size J (6.00 mm) up
- Stitch markers, tapestry needle, scissors
Gauge
- 9 sts x 12 rows in stockinette stitch = 4”/10 cm
Finished Measures
- Shrug Width (wrist to wrist): 52’’/132 cm
- Shrug Length (shoulder to bottom): 23.5’’/ 59.5 cm
- Sleeve Length (elbow to wrist): 14.25’’/36 cm
Abbreviations (US Terms)
- BO: bind off
- CC: contrasting color
- CO: cast on
- k: knit
- kfb: knit front and back [1 st increase]
- MC: main color
- p: purl
- pfb: purl front and back [1 st increase]
- RS: right side
- st(s): stitch(es)
- WS: wrong side
Notes
- The project is worked as one rectangle that will make the body of the shrug and 2 panels that will make the sleeves. First, the rectangle is sewn to make the arm openings. Secondly, the collar is added. Lastly, the sleeves are sewn inside the shrug.
- Stitch count remains the same along the rectangle panel.
- The rectangle is 33.75’’/86 cm in width and 23.5’’/ 59.5 cm in length.
- When seaming the panel using the mattress stitch, 2 stitches will “disappear” to the inside of the shrug. Therefore, between each seam, the rectangle will have 74 stitches.
Knit Barcelona Shrug
Find video tutorials below on some of the techniques used!
Panel
Using MC, CO 76 sts.
Row 1 (RS): k each st across the row.
Row 2 (WS): p each st across the row.
Rows 3 – 4: Repeat Rows 1 & 2.
Change to CC.
Rows 5 – 6: Repeat Rows 1 & 2.
Change to MC.
Rows 7 – 64: Repeat Rows 1 & 2.
Change to CC.
Row 65 – 66: Repeat Rows 1 & 2.
Change to MC.
Rows 67 – 70: Repeat Rows 1 & 2.
BO and weave in ends.
Seaming the panel
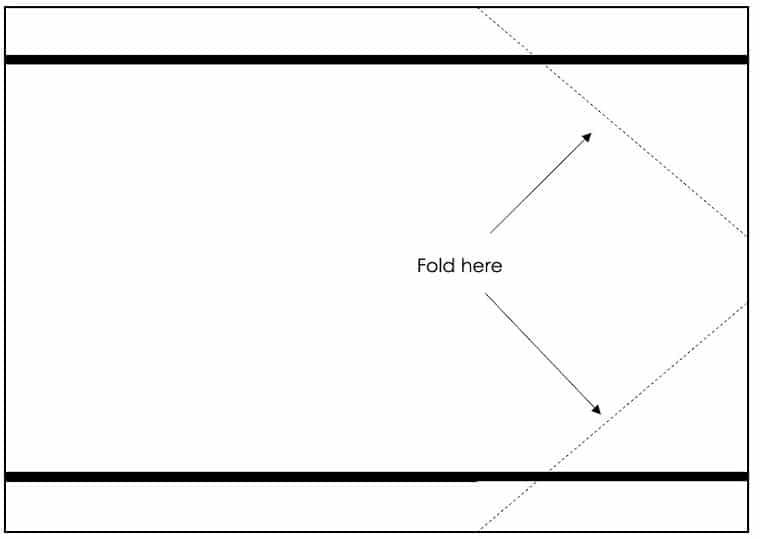
Firstly, lay the rectangle flat so that WS is facing up and the stripes in CC are in a horizontal position. Ensure that the bind off is on the top of the rectangle. Secondly, fold the top and bottom right corners of the rectangle so that the corners point to the center of the rectangle to the center.
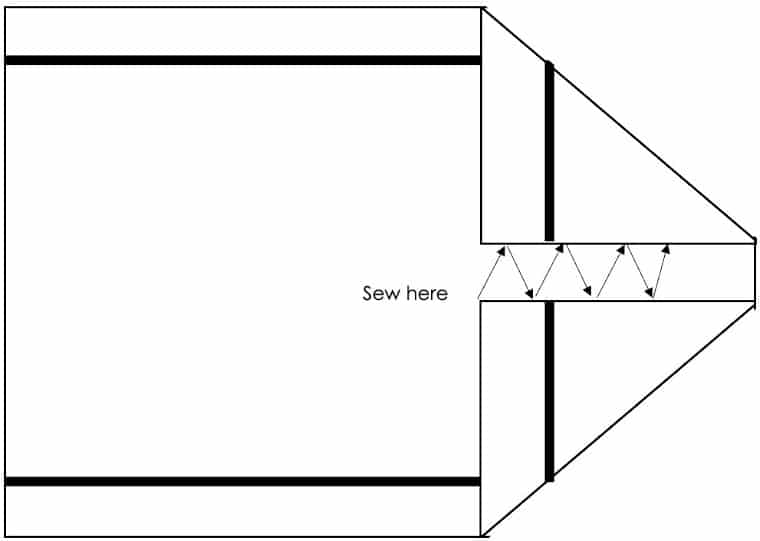
Then, join the bottom and top faces of the corners so that the stripes are aligned and look like one horizontal stripe. Use a tapestry needle with MC. Count from the center of the rectangle to the edge. Using the mattress stitch, sew the first 16 stitches. The rest will remain unworked to make the arm opening.
Watch the video tutorial below on how to make the mattress stitch! Please note that the video is in Portuguese!
Collar
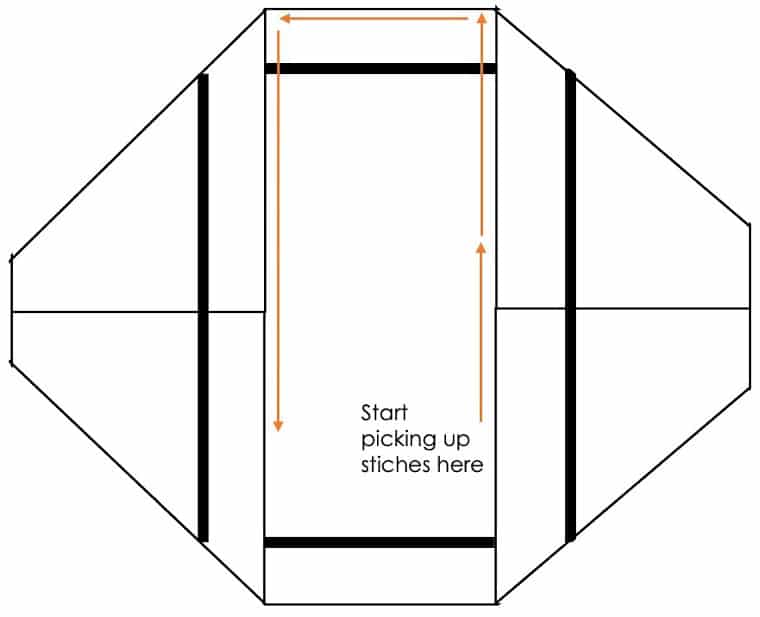
With RS of the shrug facing you, count 11 stitches down from the right seam. You will now pick up stitches to work as the cast on for the collar. Using a crochet hook, insert the hook in the middle of the stitches that result from the bind off of the rectangle.
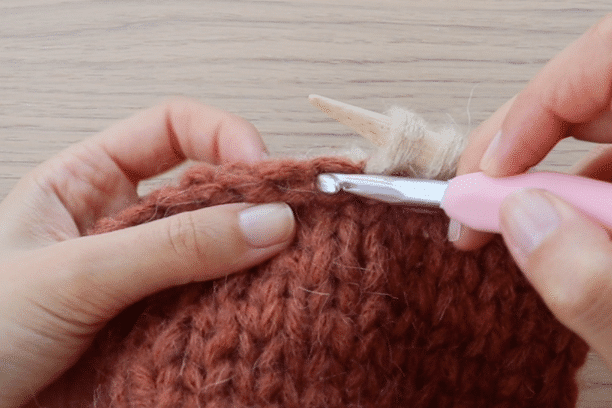
Going from the right side of the shrug to the left, pick up 96 sts and place them on the circular knitting needles.
Watch the video tutorial below on how to pick up the stitches for the collar! Please note that the video is in Portuguese!
Row 1 (RS): k each st across the row <96>.
Row 2 (WS): p each st across the row <96>.
Row 3 (RS): repeat Row 1 <96>.
Sleeves (make 2)
Using CC, CO 16 sts.
Row 1 (RS): k each st across the row <16>.
Row 2 (WS): p each st across the row <16>.
Row 3: k each st across to last st, kfb in last st <17>.
Row 4: p each st across the row <17>.
Change to MC.
Row 5: k each st across the row <17>.
Row 6: p each st across to last st, pfb in last st <18>.
Change to CC.
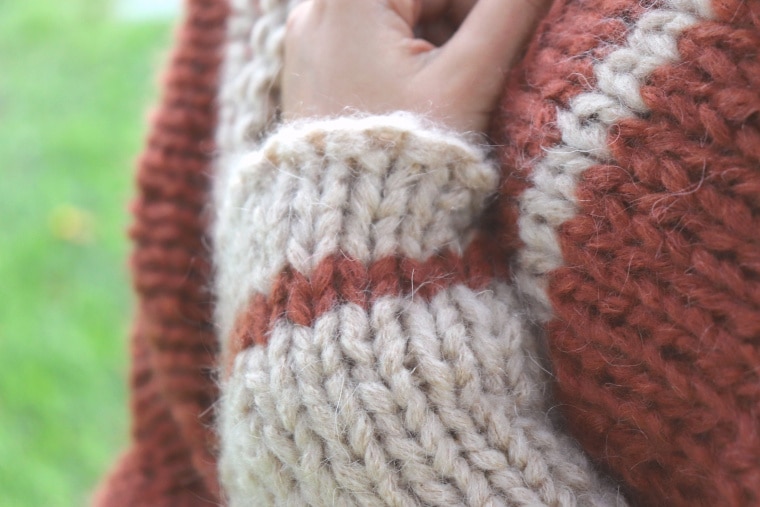
Rows 7 – 9: Repeat Rows 1 – 3 <19>.
Rows 10 – 12: Repeat Rows 4 – 6 <20>.
Rows 13 – 30: Repeat Rows 1 – 6 <26>.
Row 31: k each st across the row <26>.
Row 32: p each st across the row <26>.
Row 33: k each st across the row <26>.
Row 34: p each st across to last st, pfb in last st <27>.
Row 35 – 38: Repeat Rows 31 – 34 <28>.
Row 39 – 42: Repeat Rows 31 – 32 <28>.
BO and weave in ends.
Lay sleeve flat so that WS is facing up. Secondly, fold the sleeve in half so that the stripe is aligned and seems continuous. Using a tapestry needle with CC, sew the sleeve using the mattress stitch.
Repeat for the second sleeve.
Attaching Sleeves
Put on sleeves. Then, put on the shrug.
With the help of stitch markers, mark where you want to sew the sleeves to the shrug, making sure that you leave 3 to 4 rows from the arm opening unworked to make it look that they come from inside. In addition to this, ensure that you can bend your arms comfortably.
To conclude, sew the sleeves without pulling too much on the stitches so that the seam is invisible from the RS of the shrug.

4 Comments
Love the look of this!
Thank you so much Pam!
Hi fellow Australian. Really like your design. I figure if I wait long enough, the perfect pattern will appear for the yarn I’ve been hanging onto.
I’m wondering if it would work to knit a wider collar so I could close with a clasp or button.
Cheers Katheen, Canberra
Hi Kathleen!!
Thank you so much for your words. In all honesty, I am Portuguese, but feeling more and more at home everyday here in Australia. 😉
Yes, you could definitely knit a wider collar! That will also prevent the collar from rolling, which still happens after blocking.
Let me know how it goes!
Cheers from Melbourne!