This post may contain affiliate links. I may receive a small commission at no extra cost to you that goes towards supporting Fluffy Stitches. All opinions are my own. Full Privacy & Disclosure Policies HERE.
Tunisian Raffia Bag Project – Base
The Tunisian Raffia Bag Project has got its base! Join me in this series of posts where I’ll share with you my creative process and take you from vision to final project.
Inspiration
I don’t know about you, but these last couple of weeks have been so strange, that inspiration is eluding me. And not just that, but I am also struggling to find time to focus on my little corner of the internet. I did just start a part-time job recently, and there’s all this uncertainty with the pandemic going on so I’m trying to give myself some grace.
But anyway… The challenges I told you about in the previous post that I was supposed to be figuring out for this design… I haven’t really figured them out yet.
I know that it may not be the smartest move, but I just have to start working and get to the challenges. That helps me get more ideas on how to solve them when I’m stuck in such a funk.
Hence, this week, I’ll be working on the base of the bag.
Project
The base of the bag is an important piece. If I am making a large bag, with a somewhat big base, it needs to have structure. Otherwise, you put something inside the bag and the raffia base will just start dropping and pulling the rest of the bag down. Definitely NOT what we want!
Challenge
To solve this challenge, I’ve decided to use a bit of cardboard. However, I don’t want to just put it inside the bag. I want it to look pretty and sturdy and make sure that the cardboard stays in place. So my solution to this is making two panels for the base, place the cardboard between them and sew them up.
Like everything in life, this solution has a bit of a downside. If something happens to the cardboard inside, especially if it bends, the base won’t be as great and you won’t be able to replace the cardboard. Nevertheless, this bag is more of a statement accessory and not an “all-terrain” so I’ll take my chances.
Pattern
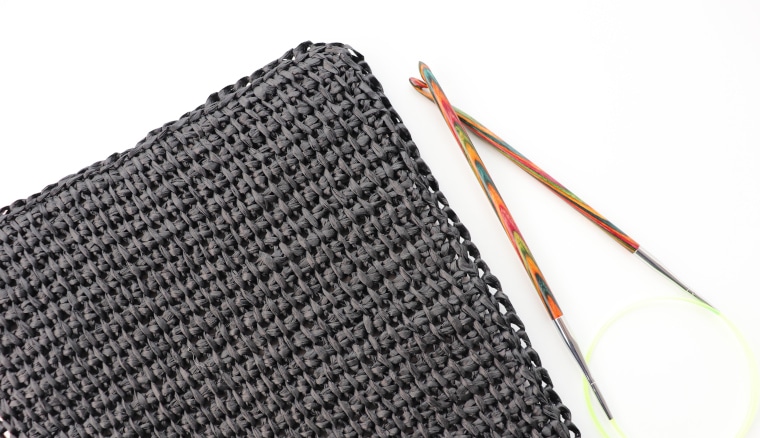
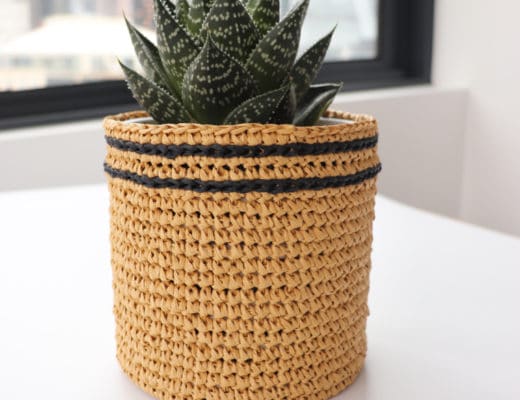
For this pattern, I’m using Ra-Ra Raffia from Wool and the Gang. For the base and the first third of the bag, I’ll be using the Coal Black raffia.
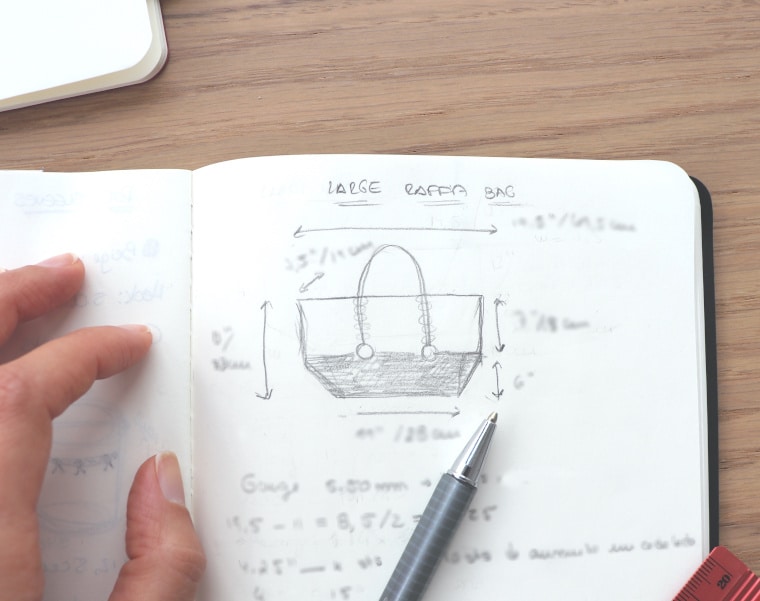
I started by making two panels in Tunisian Simple Stitch. I had already figured out the measurements of the bag when I drafted it in the previous post. Once I finished, I gave them a little steam to stop them from curling so much and be able to work.
Here is a tutorial on how to make the Tunisian Simple Stitch with raffia. Please note that the video is in Portuguese!
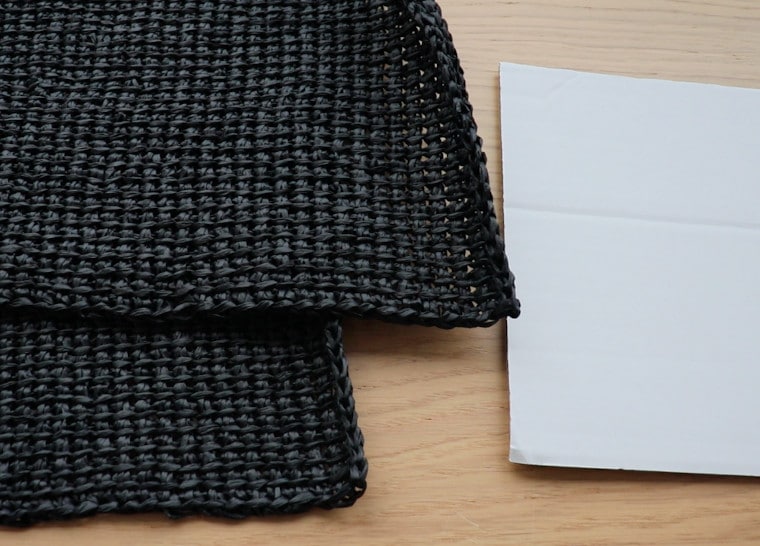
I got my cardboard and cut it slightly smaller than the measurements of the base. I took out about 0.25”/0.5 cm from every side. Now it’s time to close the base.
With both panels facing out, I slip stitched them together. It’s the same technique I used in the Tunisian Raffia Tote. This creates a side seam that we will be using later to make the sides of the bag. Slip stitch three sides, put the cardboard in and close the forth side. This side will offer a bit more resistance, but it’s normal and it’s because of the volume of the cardboard. When you finish, just fasten off and cut the raffia. Don’t worry about weaving in the end, you can just hide it when making the side of the bag.
Here is a video on how to make the base from your two panels. Please note that the video is in Portuguese!
If you saw that carefully, you’ll see that I actually made a mistake and started working on the second stitch in one of the panels… Sorry about that… Apart from that, the video shows correctly how to slip stitch the two panels together.
A very important detail that will make life easier when making the sides… Add one stitch per corner and mark it with a stitch marker. This will allow you to easily identify where the bag will grow.
And we’ve got ourselves a base! See you on the sides of the bag. 😉
No Comments